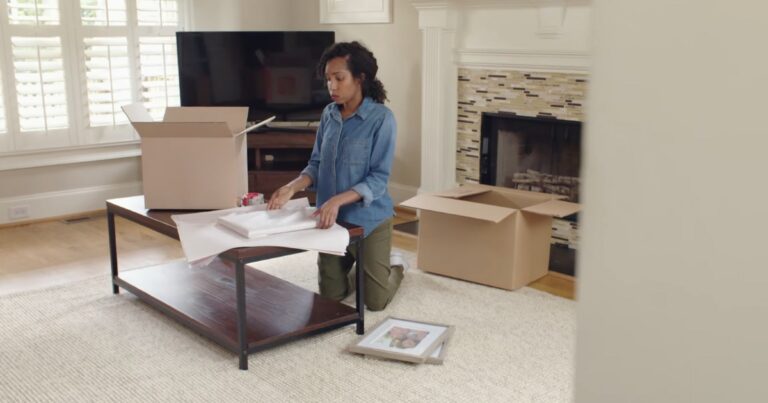
Packing pictures for a move requires careful attention to detail to prevent damage during transportation. Artwork and framed photos hold sentimental and financial value, making their safe arrival at a new home a priority.
The process involves more than just wrapping items in bubble wrap. It involves selecting the right materials, employing specific techniques, and understanding the best way to secure these items for transit.
Also, you can always hire professionals to help you with the moving process. They are experienced in packing things safely. If you are looking for one, check out Easy Peasy Removals.
With the right approach, you can ensure that your pictures withstand the bumps and jostles of moving, arriving at their destination in the same condition they left.
This guide offers practical steps to achieve that goal, providing peace of mind as you transition to your new space.
Materials Needed for Packing Pictures
To pack photos properly, you need specific materials to ensure they are protected. Start with sturdy cardboard boxes, ideally ones designed for artwork or mirrors.
Bubble wrap is essential for cushioning, along with packing paper to wrap the pictures before adding the bubble wrap layer. Use painter’s tape to create an X over glass surfaces to prevent shattering, and masking tape for securing the wrapping without damaging the frame.
Corner protectors are valuable for keeping frame edges safe. Additionally, gather packing peanuts or foam blocks to fill empty spaces in the boxes, preventing movement.
A marker for labeling and a measuring tape to select the right box size are also necessary. Collecting these materials before you start packing saves time and helps ensure you have everything needed to protect your pictures during the move.
Step-by-Step Guide to Wrapping Pictures
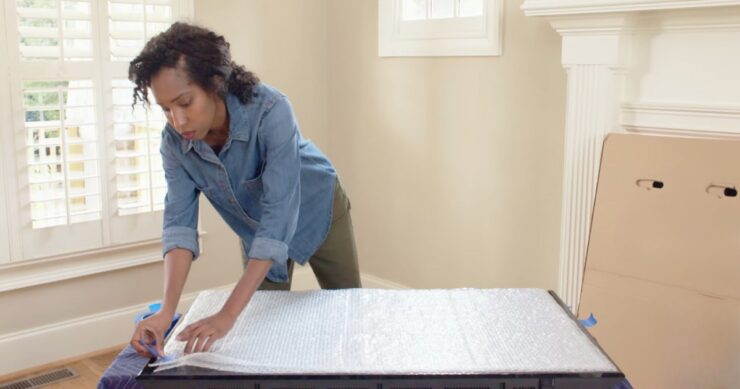
Begin by laying out a clean, flat surface to work on, like a table covered with a blanket to prevent scratches. Place packing paper on the surface, then lay the picture face down on the paper.
Wrap the picture with several layers of paper, securing it with masking tape. Next, apply a layer of bubble wrap for added protection, ensuring the bubbles face outward to prevent marks on the picture surface.
Secure the bubble wrap with tape. For photos with glass, apply painter’s tape in an X shape over the glass before wrapping it to keep the glass in place if it breaks. Use corner protectors on each corner of the frame for extra security.
This method ensures your pictures are well-protected against impacts and pressure changes during the move.
Choose the Right Box for Your Pictures
Selecting the correct box is crucial for picture safety during transit. Measure your wrapped pictures to find a box that fits snugly, allowing minimal movement inside.
Specialty picture or mirror boxes, available from moving supply stores, offer the best protection as they are designed for flat, fragile items. If you have multiple small pictures, consider a larger box with dividers to keep them separated and prevent scratches.
Ensure the box is sturdy enough to withstand the weight and pressure from stacking. For extra-large or unusually shaped pictures, custom crates made of wood can provide superior protection.
Fill any gaps in the box with packing peanuts or crumpled paper to immobilize the pictures, reducing the risk of damage.
When preparing to move, many people wonder which space poses the greatest packing challenge, but with strategic techniques, you can overcome this hurdle and ensure your cherished pictures stay safe during transportation.
Securing Pictures Inside the Moving Box

Once you have your photos wrapped and the right box selected, the next step is securing them inside the box to prevent any movement that could cause damage. Place the wrapped pictures inside the box, standing them vertically rather than laying them flat.
This position reduces the risk of pressure damage. If there’s extra space, fill it with crumpled packing paper or foam blocks. These materials absorb shocks and keep the pictures stationary.
For added security, especially with multiple pictures in one box, use cardboard dividers to separate each piece and prevent them from rubbing against each other. Before sealing the box, gently shake it to ensure there’s no movement inside.
Seal the box with strong packing tape, reinforcing the bottom and top seams to handle the weight during transport. Properly securing your pictures inside the box is key to ensuring they arrive undamaged.
Labeling Boxes Containing Pictures
Labeling is a critical step in the packing process, especially for boxes containing fragile items like pictures. Use a permanent marker to write “FRAGILE – HANDLE WITH CARE” on each side of the box.
This alerts anyone handling the box to do so with extra caution. Additionally, indicate the top of the box to keep it oriented correctly during the move. It’s helpful to note the room where the box should go in your new home, such as “Living Room – Pictures,” to streamline the unpacking process.
If you’re using a moving company, labels can also include a list of contents for inventory purposes and to claim insurance in case of damage. Proper labeling not only protects your pictures during the move but also makes unpacking and organizing in your new home more efficient.
Tips for Loading Pictures onto a Moving Truck
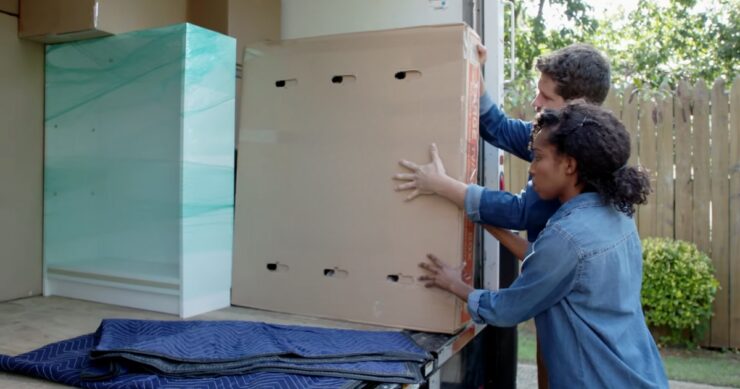
Loading pictures onto a moving truck requires a strategy to avoid damage. Place boxes containing pictures near the back of the truck, against the walls, where there is less movement and the risk of items falling on them is minimized.
Avoid stacking heavy boxes on top of those containing pictures. Instead, find a secure spot where the box can stand upright, such as between mattresses or furniture that won’t shift during transport.
If possible, use straps or bungee cords to secure the boxes against the truck walls for added stability. Be mindful of temperature changes and moisture, especially if the pictures are in transit for a long time.
Avoid placing pictures near the truck door, where they’re more exposed to outside conditions. Proper placement and securing of your pictures on the truck play a crucial role in ensuring they arrive at your new home without damage.
Conclusion
Successfully moving pictures requires careful planning, the right materials, and attention to detail. By following a structured approach, you can ensure your pictures are well-protected throughout the move.
Each step, from wrapping to loading, plays a crucial role in safeguarding your items against damage. With these guidelines, you’re equipped to transport your pictures safely, ready to decorate and personalize your new space.

